There will always be a debate on the best mobile operating system worldwide. However, Android is the most popular due to its flexibility and extensive app ecosystem, particularly the Google Play Store. It is the official app store for Android devices from which users can download apps and content for their devices.
According to
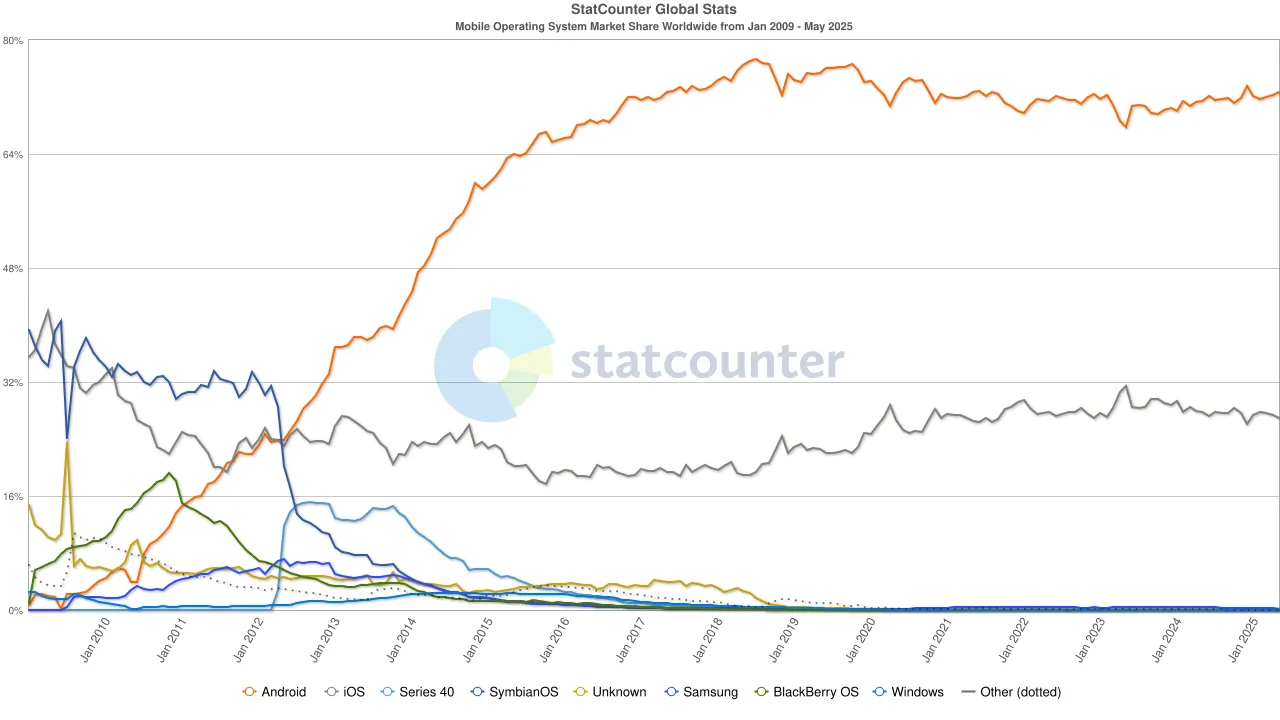
42matters app store intelligence, it is evident that Android holds nearly three-quarters of the market share, covering approximately 72%, while iOS accounts for approximately 26%, and the remaining mobile OSes cover the remaining market. Together, these two operating systems dominate the market, running on 7.21 billion devices and serving around 5 billion users worldwide.
This is why the crucial milestone after building an app is to successfully upload it to the Play Store.
Keep reading because this blog will serve as a comprehensive guide for you to upload an app to the Google Play Store.
Things to Consider before you Publish an Android app on the Google Play Store
Google Play Store is becoming more dominant ever since the evolving technologies have shaped the app development process drastically. According to the 42matters
statistics, there are currently over 2,041,733 apps available on the Google Play Store, with more than 1,300 new apps uploaded daily. Additionally, the interface of the Google Play Store gets frequently updated, leading to fierce competition among developers and companies for capturing users’ attention. Users are constantly shifting preferences, making the development process intense, but the good part is that; latest tools and technologies are backing the industry.
Here are things to consider when publishing applications:-
- Before proceeding with the uploading process, make sure you keep high-quality app screenshots, descriptions, and a compiled APK ready.
- Enroll in Play App Signing if you are planning to submit an Android App Bundle. This secures and stores the app signing key on Google’s protected infrastructure. Additionally, it enables you to access several options to enhance your application’s security over time.
- The app’s size should not exceed the recommended limit because Google Play allows compressed app downloads of up to 150 MB or less. Otherwise, you will have to eliminate unused code, optimize resources, and use other app size reduction techniques.
- The process may vary slightly depending on the latest updates to the Google Play Store interface.
- The app should stand out through quality, performance, and user satisfaction.
A process in chronological order
Here is a step-by-step process for submitting an app on the Google Play Store successfully.
1. Prerequisites -Google Play Developer Console
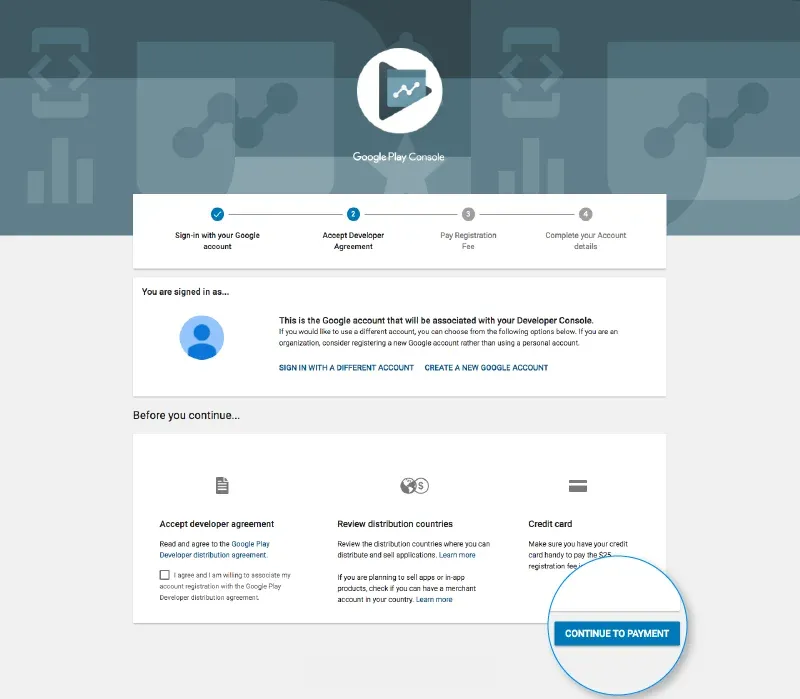
Setting up a Google developer account is a primary important step and can be considered as a backend operating system for all the apps published on the Play Store. The process of creating a developer’s account is simple if you follow the instructions. Eventually, you will have to pay $25 as a one-time fee so that you can submit your application on Google Play for free. The approval process will take 48 hours after you submit your account details.
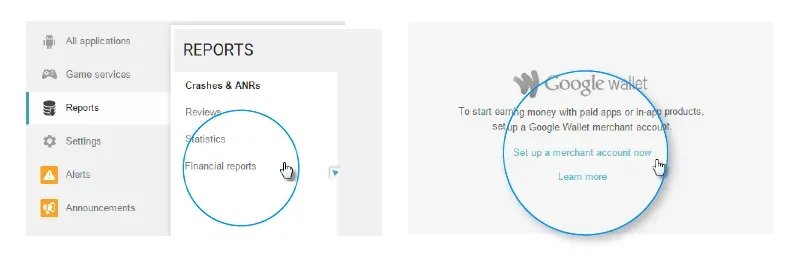
2. Set up and link the Merchant Account with the Developer Account
This is another crucial step to adhere to if your app includes any in-app purchases. Connecting the developer account with the merchant account enables you to download reports and access details with ease. Once you set up a merchant account, it will automatically link to your Google Play Console. After addressing all the requirements to set up a merchant account, you can receive payments, manage sales data, and integrate your products with various Google services.
3. Create Application
Once your merchant account is linked to your Google Play Console, the next step is to create your app.
 Here’s how you can do it:
- In the Menu, navigate to the “All applications” tab and click on “Create Application.”
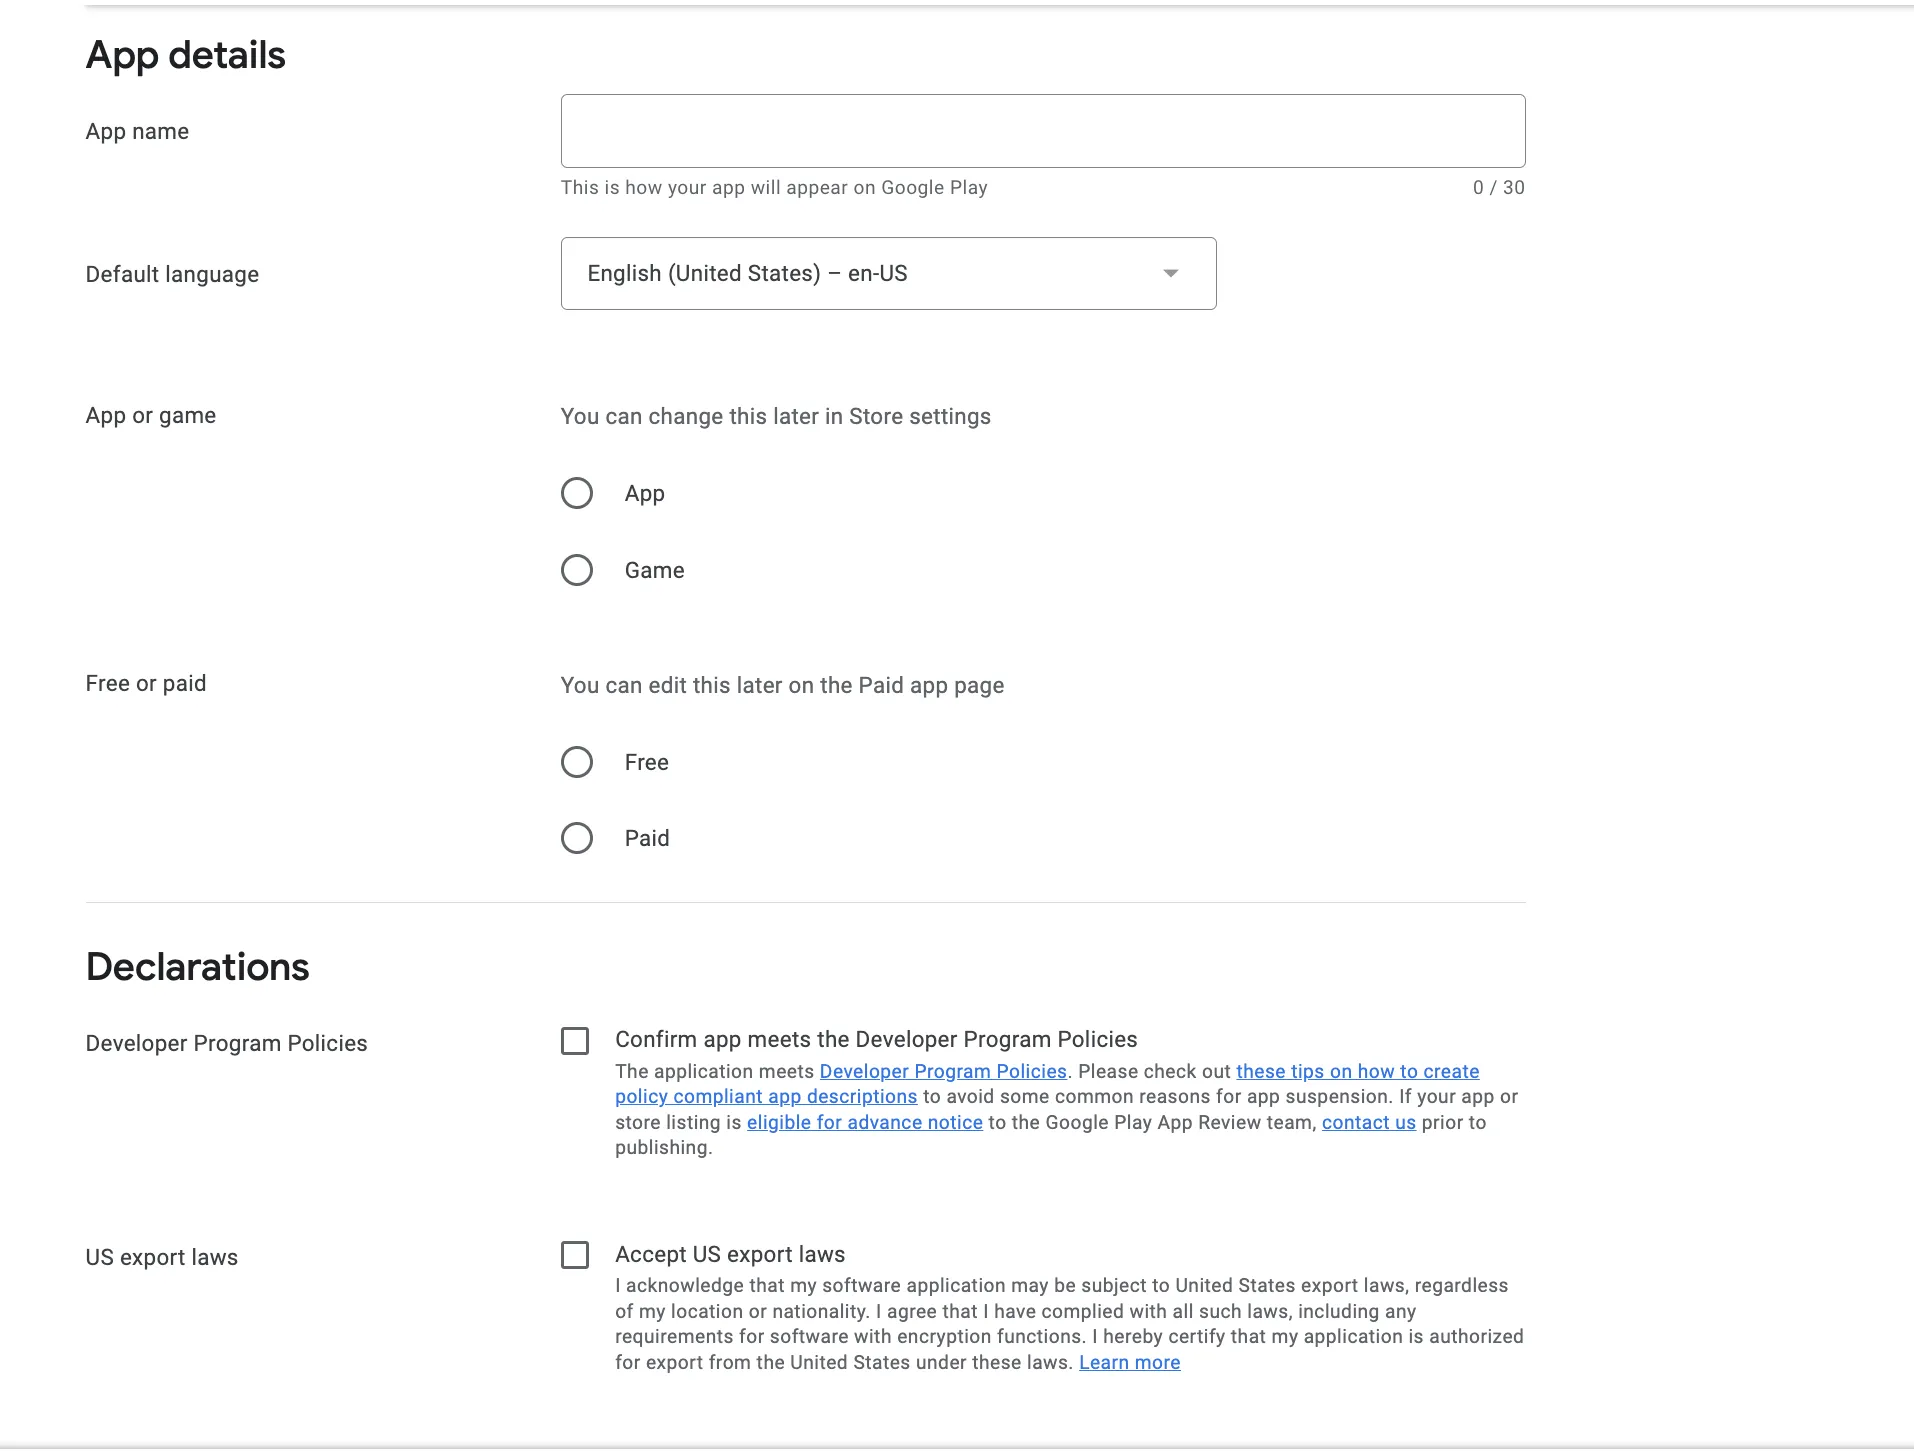
- Once you complete this step, the Play Console will ask you to fill in some basic details of your application. Here are the precise instructions you should follow:
- App Name: Name of your app up to 30 characters; however, you can change this later if needed.
- Default Language: Primary language for your app from the drop-down list.
- App Category: Whether you’re uploading an app or a game (this can also be changed later in your store settings).
- Free or Paid: Define whether your app will be offered for free or require payment from users (this can also be changed later in your store settings).
- Finally, you will be asked to agree to the terms and conditions, including Google’s Developer Program Policies and U.S. export laws.
- Once you’ve agreed to the terms and conditions, click on “Create App,” and you’re ready to move forward.
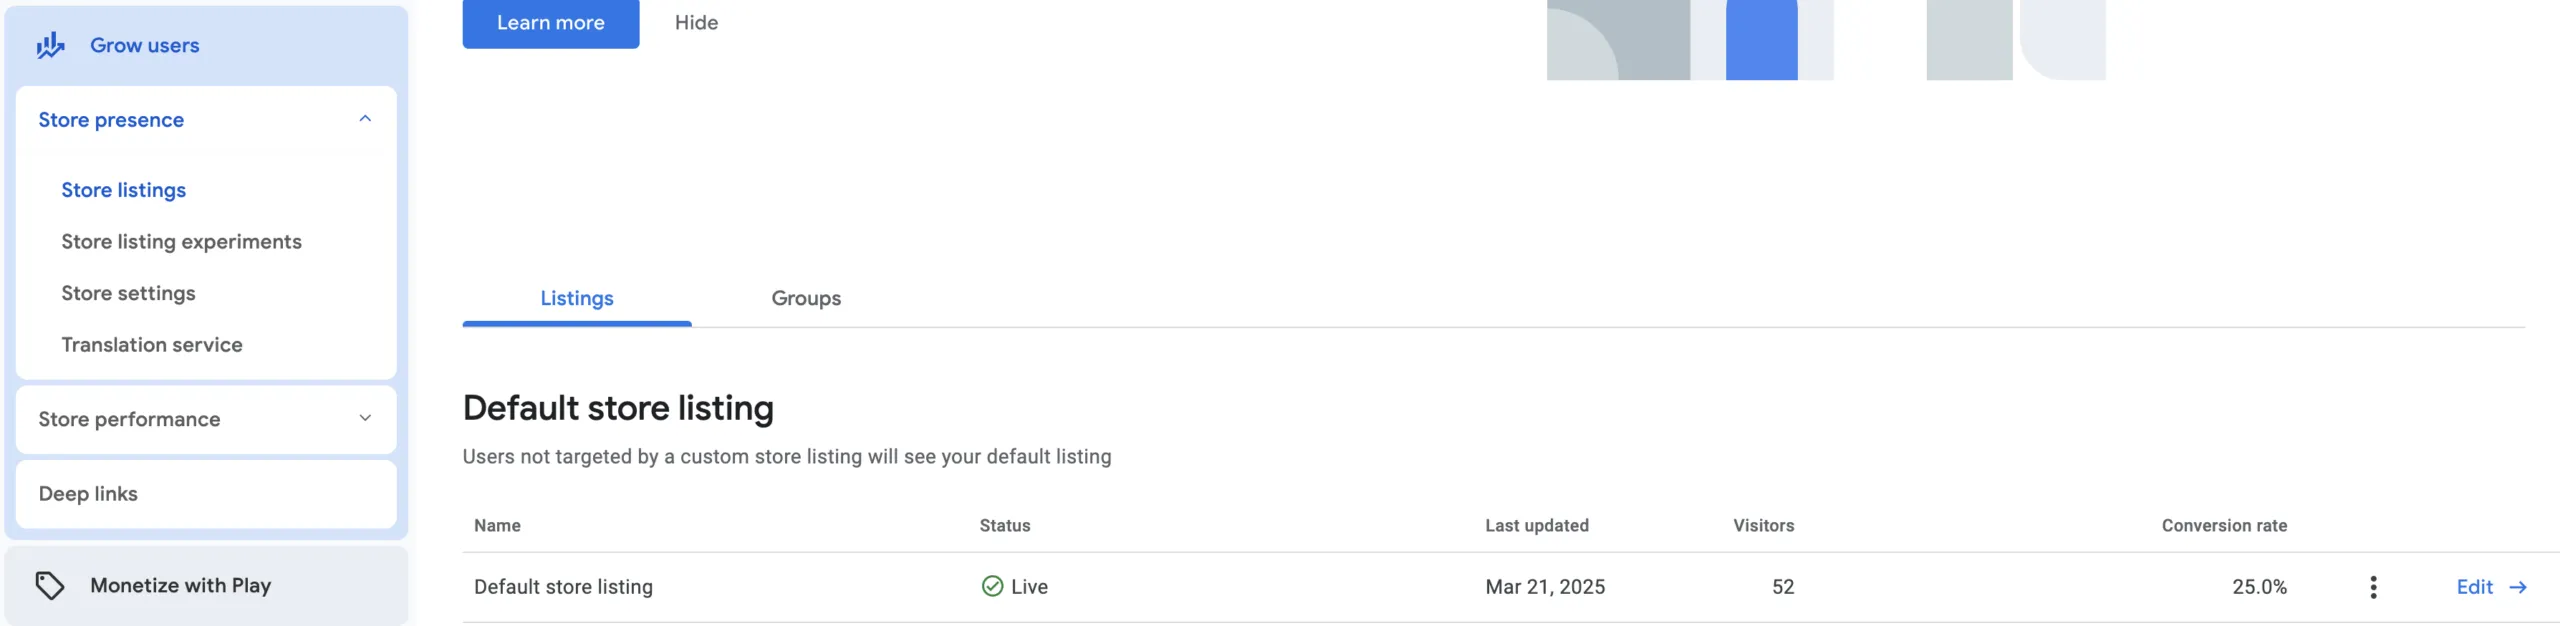
4. Store Listing
This is one of the crucial steps that can ensure your app’s visibility in the app marketplace. Some sections are important and mandatory to fill, such as the app name, short and detailed description. At this stage, choosing the right keywords is essential for improving your app’s visibility in search results.
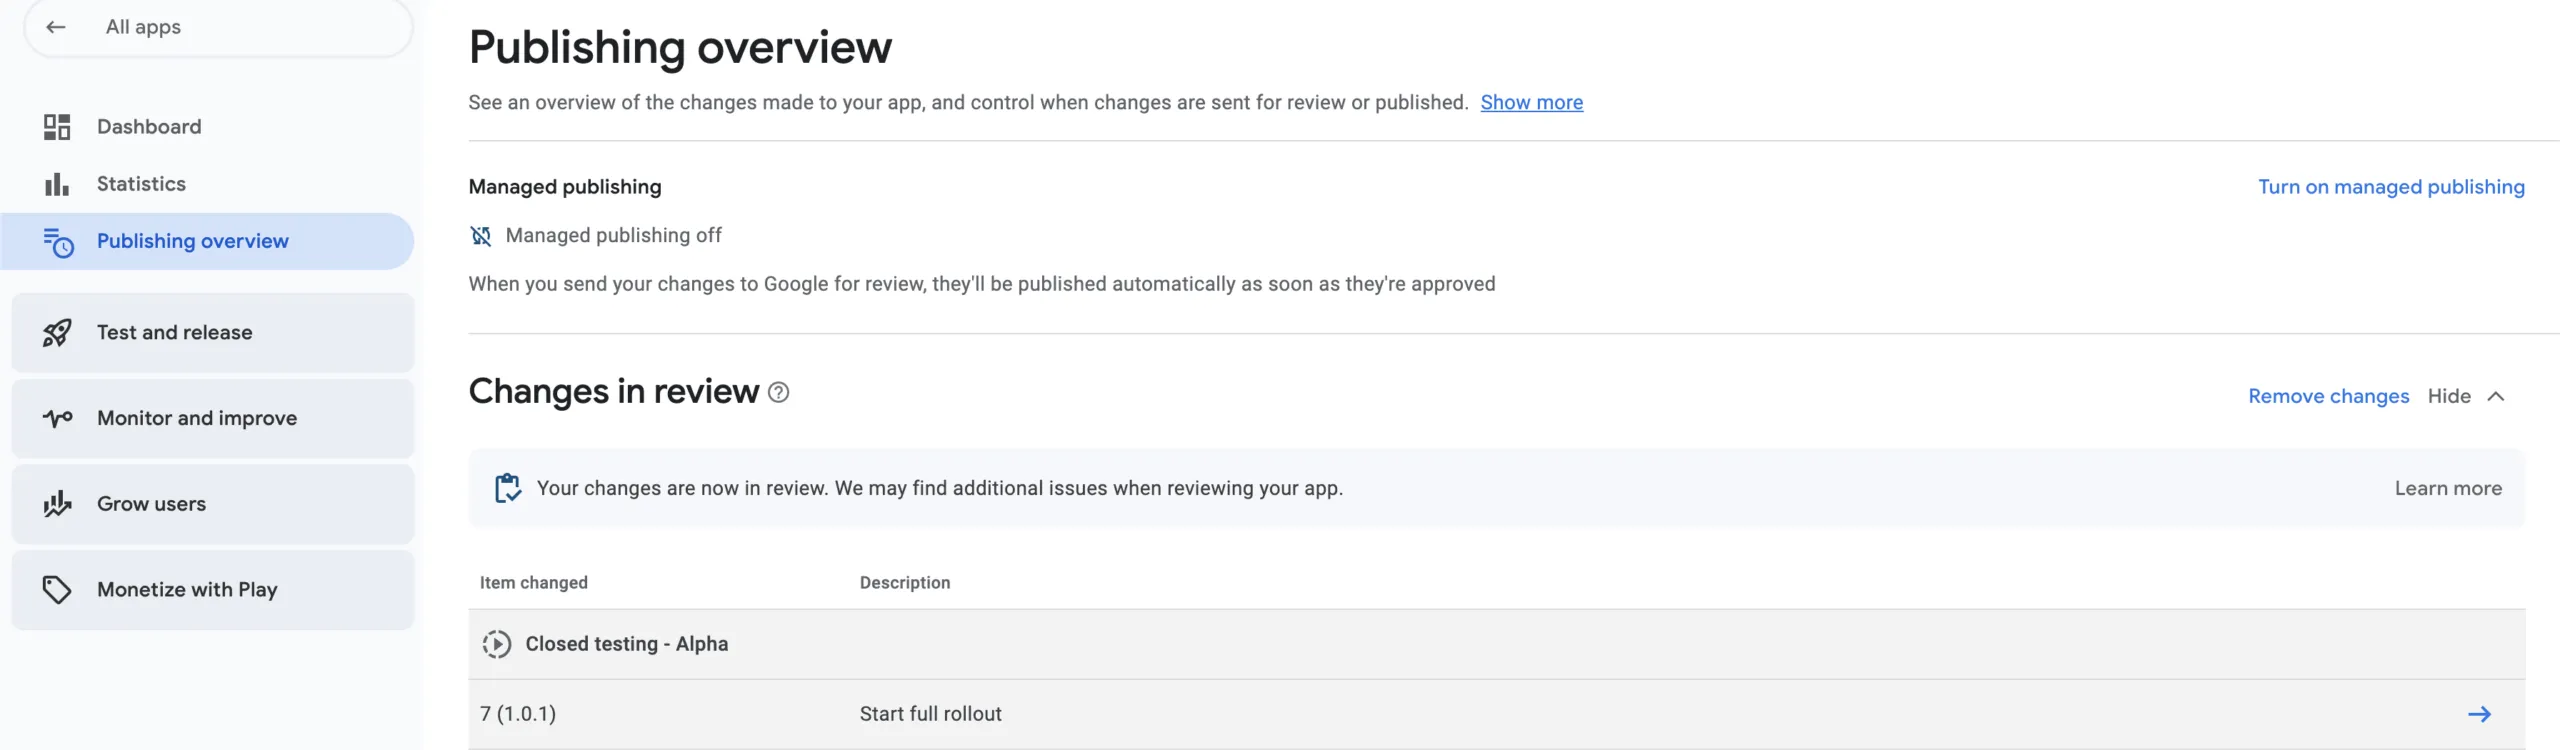
5. Upload the app Bundle to Google Play
Now, you’ll need to upload your Android App Bundle (AAB), or signed app release file to your application.
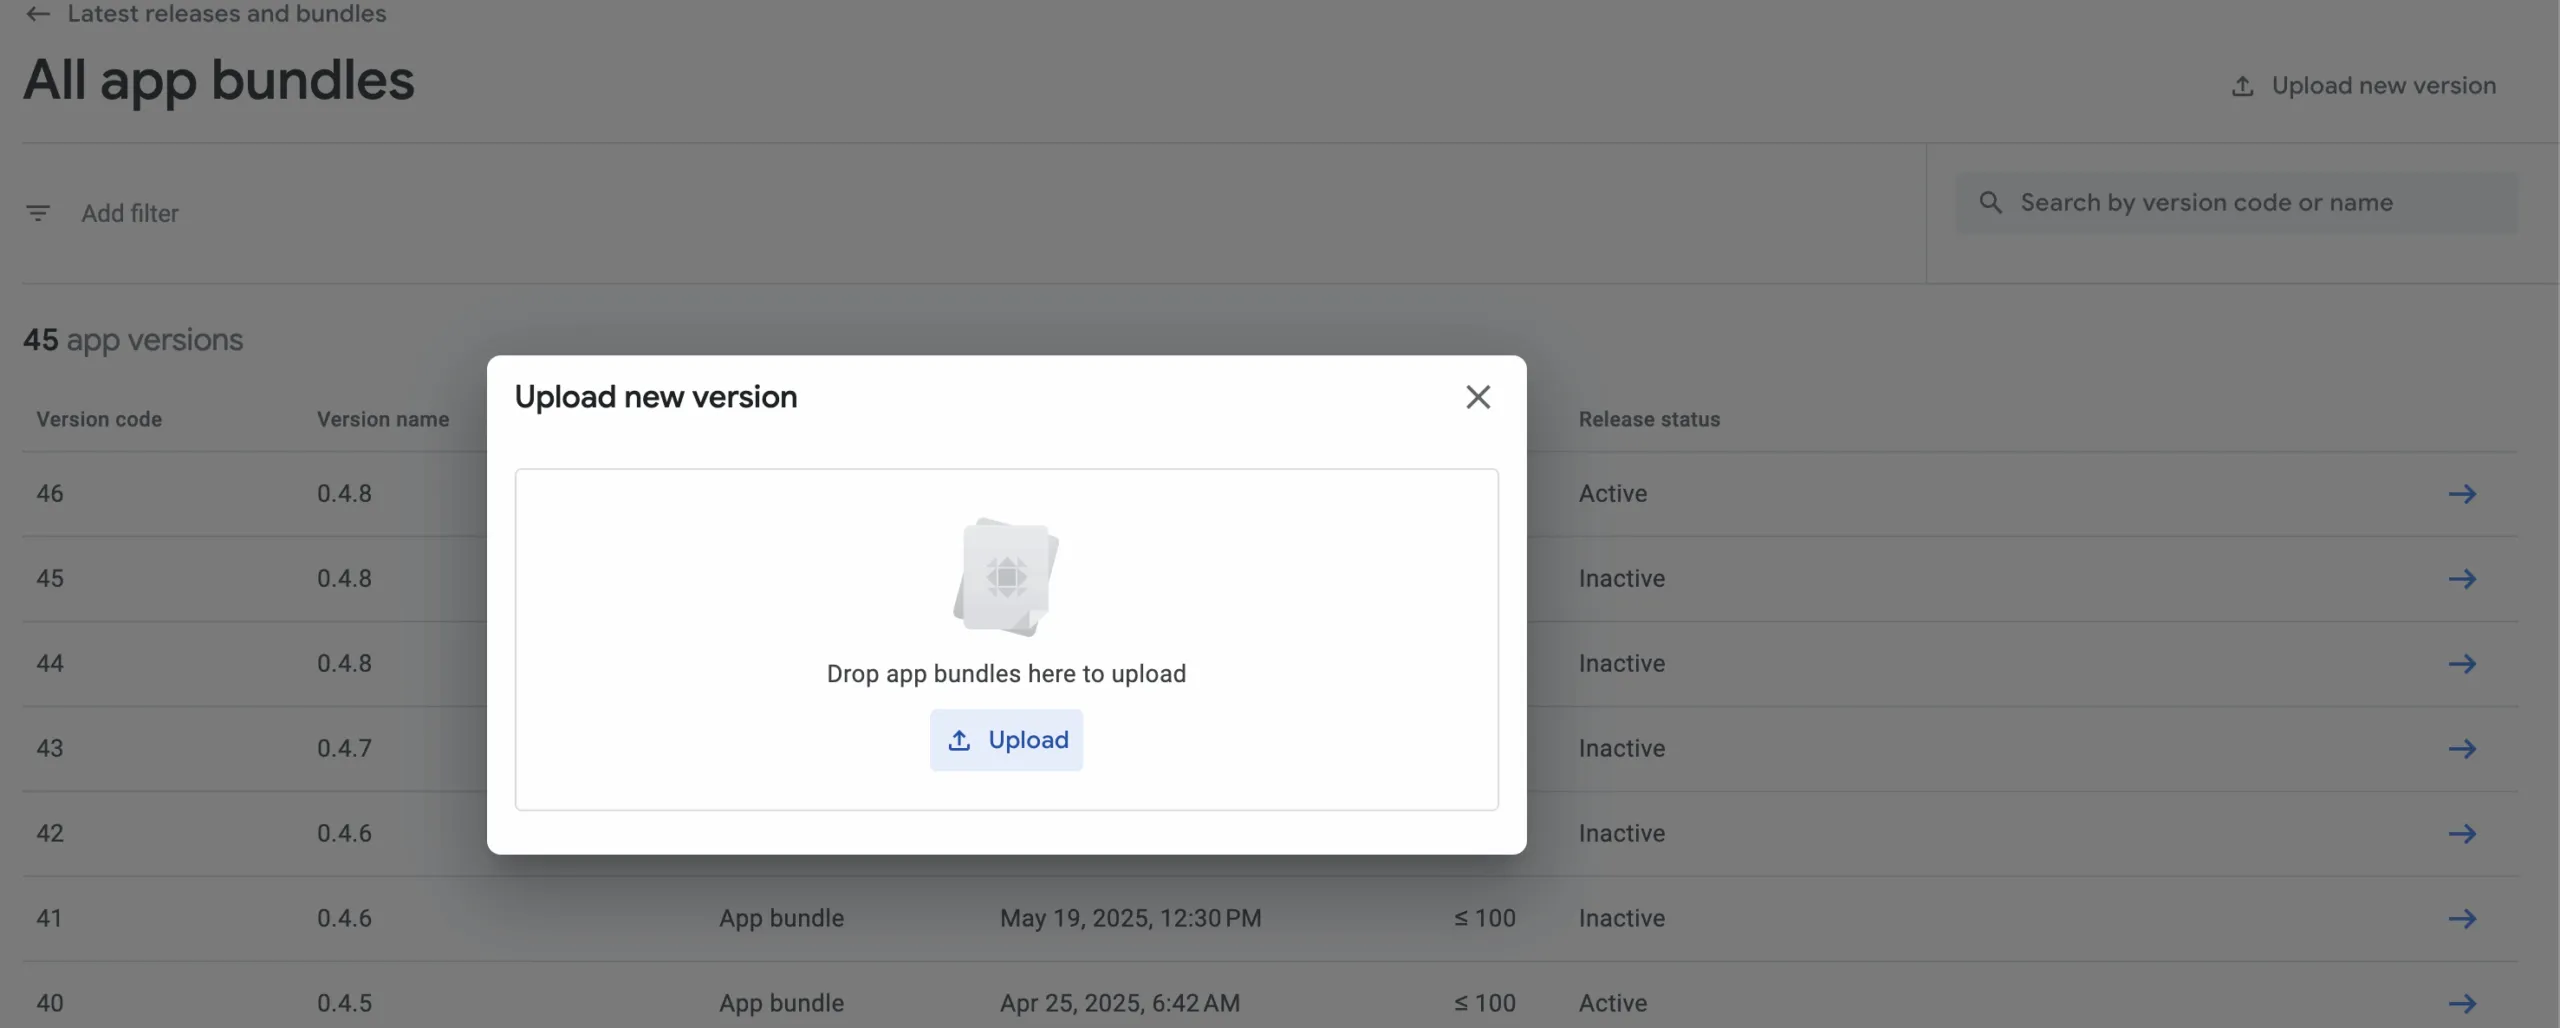 Here’s how you can do it by following these steps:
- Go to Release Management in the menu, then click on “App Release.”
- Next, you’ll be prompted to choose the type from these options:
- Internal test
- Closed test
- Open test
- Production release
- After selecting the release type, click on “Create Release.”
- You’ll then be taken to the “New Release to Production” page, where you’ll need to decide whether to use Google Play App Signing. If you prefer not to use it, simply click OPT-OUT.
- Now, click on Browse Files to upload your Android App Bundle (.aab) and name your release by following the on-screen instructions.
- Once you’ve entered all the necessary information, click “Review” to cross-check that everything is correct.
And finally, click “Save” to finish the process.
6. Content Rating
This step is the most important; leaving your app without a rating can cause serious consequences or app suspension on the Google Play Store. To avoid such situations, your app’s compliance with the Play Store’s checklist is mandatory.
 Here’s how you can do it
- Access the Play Console and select your app.
- Navigate to the “Menu” on the left, and click on “Store Availability.”
- Select “Content Rating.”
- Fill out the content rating questionnaire to obtain a rating for your app.
- Move forward with the pricing & distribution plan.
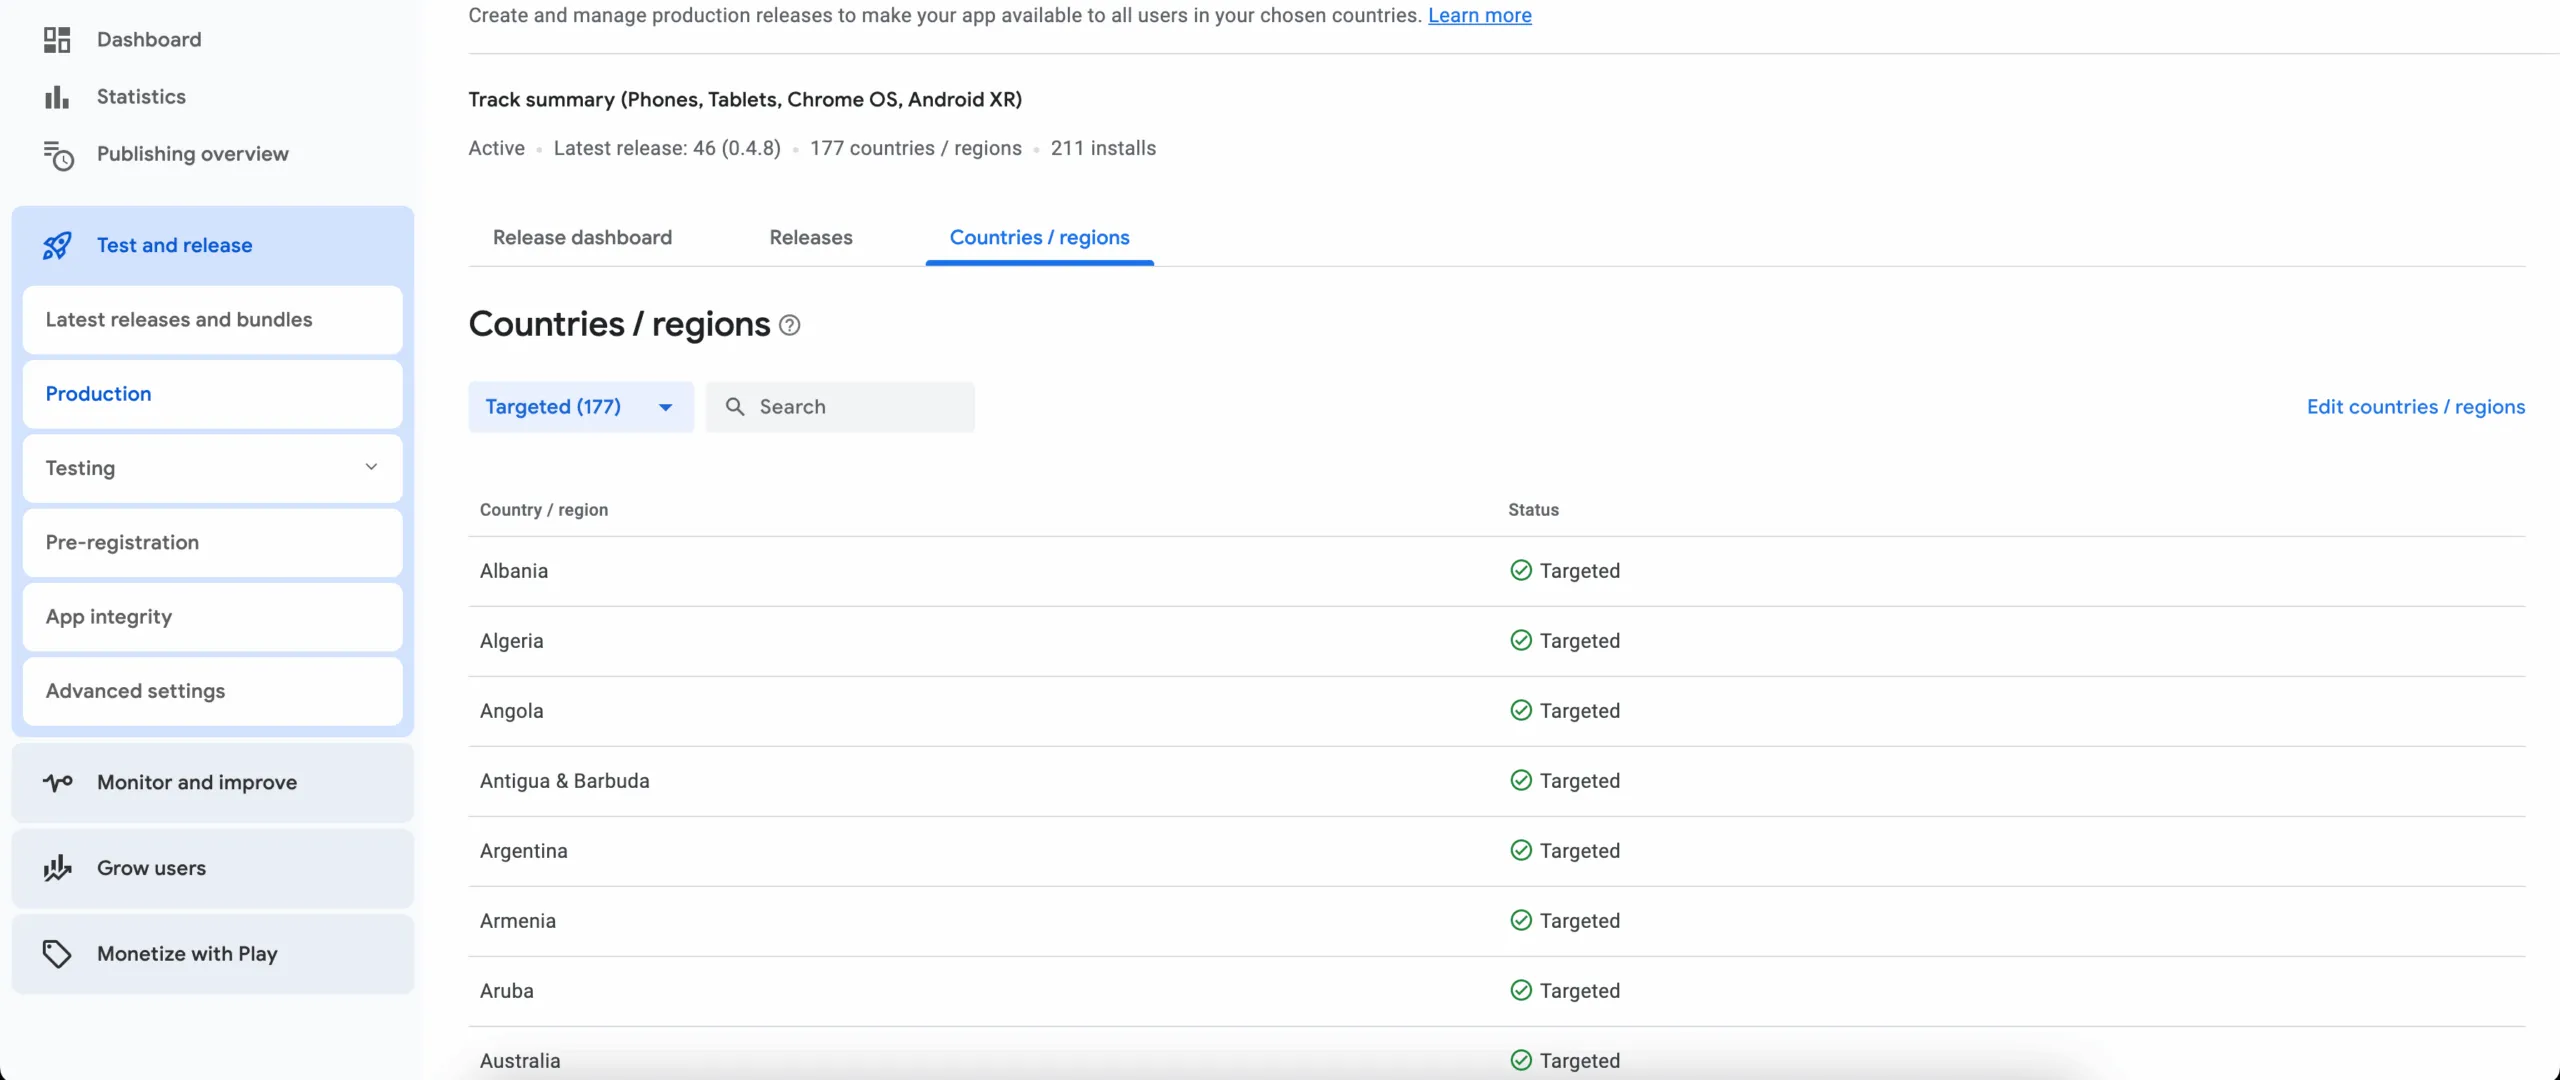
7. Set up App pricing and distribution
This step allows you to choose between free, paid, or in-app purchase models, which determines the popularity and downloads of an app. Typically, Google doesn’t allow publishing an app for all regions; that’s why you should explicitly select the country.
Moreover, a good distribution strategy ensures the app is visible and accessible to the right users. Certainly, a well-executed pricing and distribution strategy can significantly maximize revenue and increase the popularity of an app.
In the pricing and distribution section, you will find a few things you need to fill in.
Here are the things you should adhere to:
- Determine whether your app is free or paid.
- Select the regions and countries where the app will be available for download.
- Determine if your app is available only on specific devices.
- Mention if your app contains any sensitive content and is not suitable for children under the age of 13.
- Mention if your app contains ads.
8. Publish the Application
This is the final step that involves reviewing and deploying your app release. Once you are satisfied with providing all the necessary details, head over to the Release Management to navigate the App Releases section.
You will discover the three options for publishing your app:
- Production
- Beta
- Alpha tracks
Usually, Alpha and Beta releases are the popularly recommended in case your app will not be available to everyone on the Google Play store after release.
Now you can click on “Change Release” to review the changes you have made. At this stage, you can identify any potential issues or warnings that you might have overlooked.
Finally, select “Confirm rollout” to publish your app to all users in your target regions on Google Play.
Now you can wait patiently as Google’s application review and approval process takes up to 7 days.
Ways to get your App in the Play Store’s Featured Section
Getting a spot in the featured section of the Google Play Store can significantly promote an app’s overall popularity and increase downloads. This feature section indicates that the app is high-quality, trustworthy, and worth using.
However, getting a spot in the feature section is not that easy, and it must have technical excellence or offer unique value to users. Since self-nominations are not accepted, the algorithm analyses apps with strong performance and user engagement. Google’s featured section emphasizes creating high-quality apps, a polished store listing, and user-centric design.
Getting featured on the Play Store is about creating an app that stands out through quality, performance, and user satisfaction. A successful app on the Play Store is always backed by strong marketing and public relations efforts. In today’s time, social media is the bridge to connect your app with its potential audience.
Additionally, you can engage with the Play Store team by participating in Google’s promotional events or themed collections. Consistent dedication to quality and user satisfaction is often what sets featured apps apart.
Things to do after App submission on the Play Store
Submitting your app on the Google Play Store is just the beginning; real tasks are to make the app relevant, performant, and visible at the same time. An app will need continuous maintenance to address any bugs or performance issues, so that users can have a better experience with the app. These consistent updates improve overall performance and functionality and demonstrate your dedication to enhancing the user experience.
Meanwhile, monitoring the app’s analytics to see what’s actually working can help determine the overall visibility on the Play Store. With App Store Optimization (ASO), you can work on optimizing your app title, description, keywords, and visuals like screenshots and videos to attract more downloads.
And finally, along with all these efforts, you will need to focus on marketing and promotions. You can start leveraging social media to promote your app and engage users with compelling content. Partnering with a reliable
Android app development companycan also help you stay ahead with expert strategies, ensuring your app not only gets noticed but thrives in a competitive market.
Conclusion
Uploading your app to the Google Play Store is a significant achievement, but it’s only the first step in a much larger journey. There’s a lot to pay attention to, like preparing your app for submission, to ensuring it meets all technical and policy requirements. And once your app goes live, continuous maintenance, optimization, and strategic marketing are crucial to ensure its long-term success and visibility.
At
Atharva Systems, we understand how important every step of this process is. Our team is dedicated to helping businesses and developers navigate the complexities of app development, publishing, and post-launch growth. With the right approach and ongoing commitment, your app can not only reach users but also stand out in the highly competitive world of the Play Store.
Your app idea deserves more than just a launch; let’s build its future together.